
The first time I made a Red Velvet Cheesecake Cake, I remember my aunt standing beside me in the kitchen, watching me carefully stack the layers. She smiled and said that the secret was not rushing anything. At the time, I thought she was talking about the baking, but I quickly realized she meant the entire process. The cheesecake needs to cool, the red velvet layers need to be completely cold, and the frosting needs the right consistency before everything comes together. When I finally sliced through the finished cake, I understood why this dessert feels so special: every slice reveals a creamy cheesecake center surrounded by soft red velvet cake and smooth cream cheese frosting.
What Is Red Velvet Cheesecake Cake?
What makes this layered dessert special
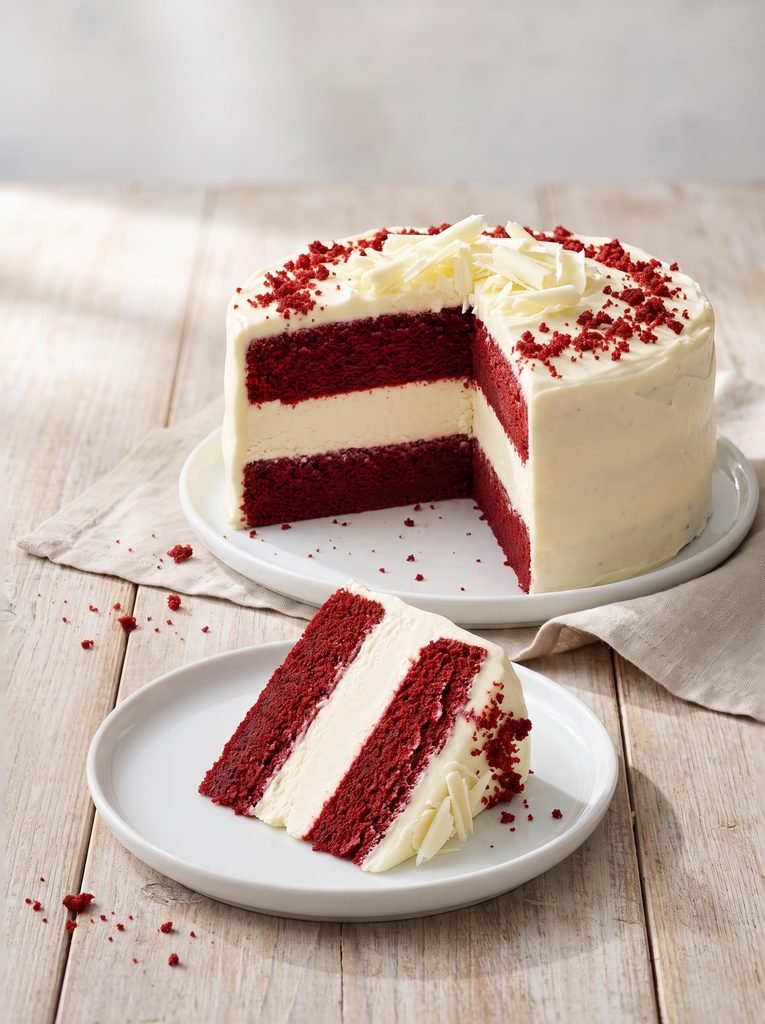
A Red Velvet Cheesecake Cake combines the familiar flavor of red velvet cake with a rich baked cheesecake layer in the center. Instead of serving the cheesecake and cake separately, I stack them into one impressive dessert. The result gives me several textures in a single bite: a tender red velvet crumb, a dense but creamy cheesecake center, and tangy cream cheese frosting around the outside. The contrast makes the dessert feel much more elaborate than a traditional layer cake, even though each component uses familiar baking ingredients.
The classic three-layer combination
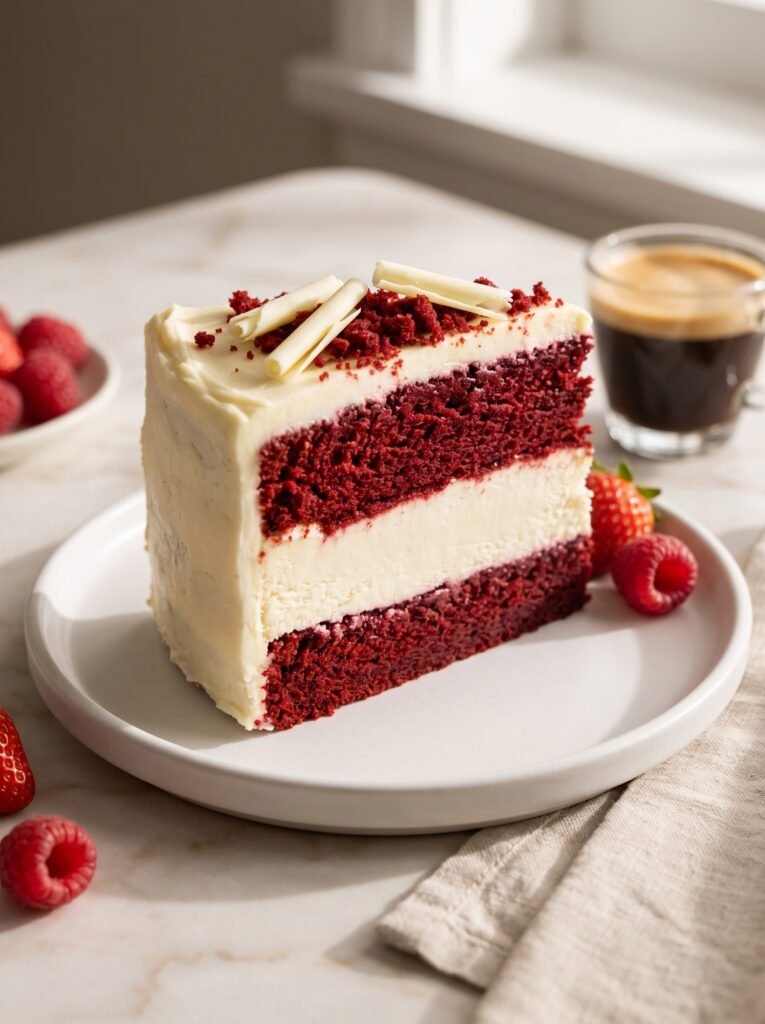
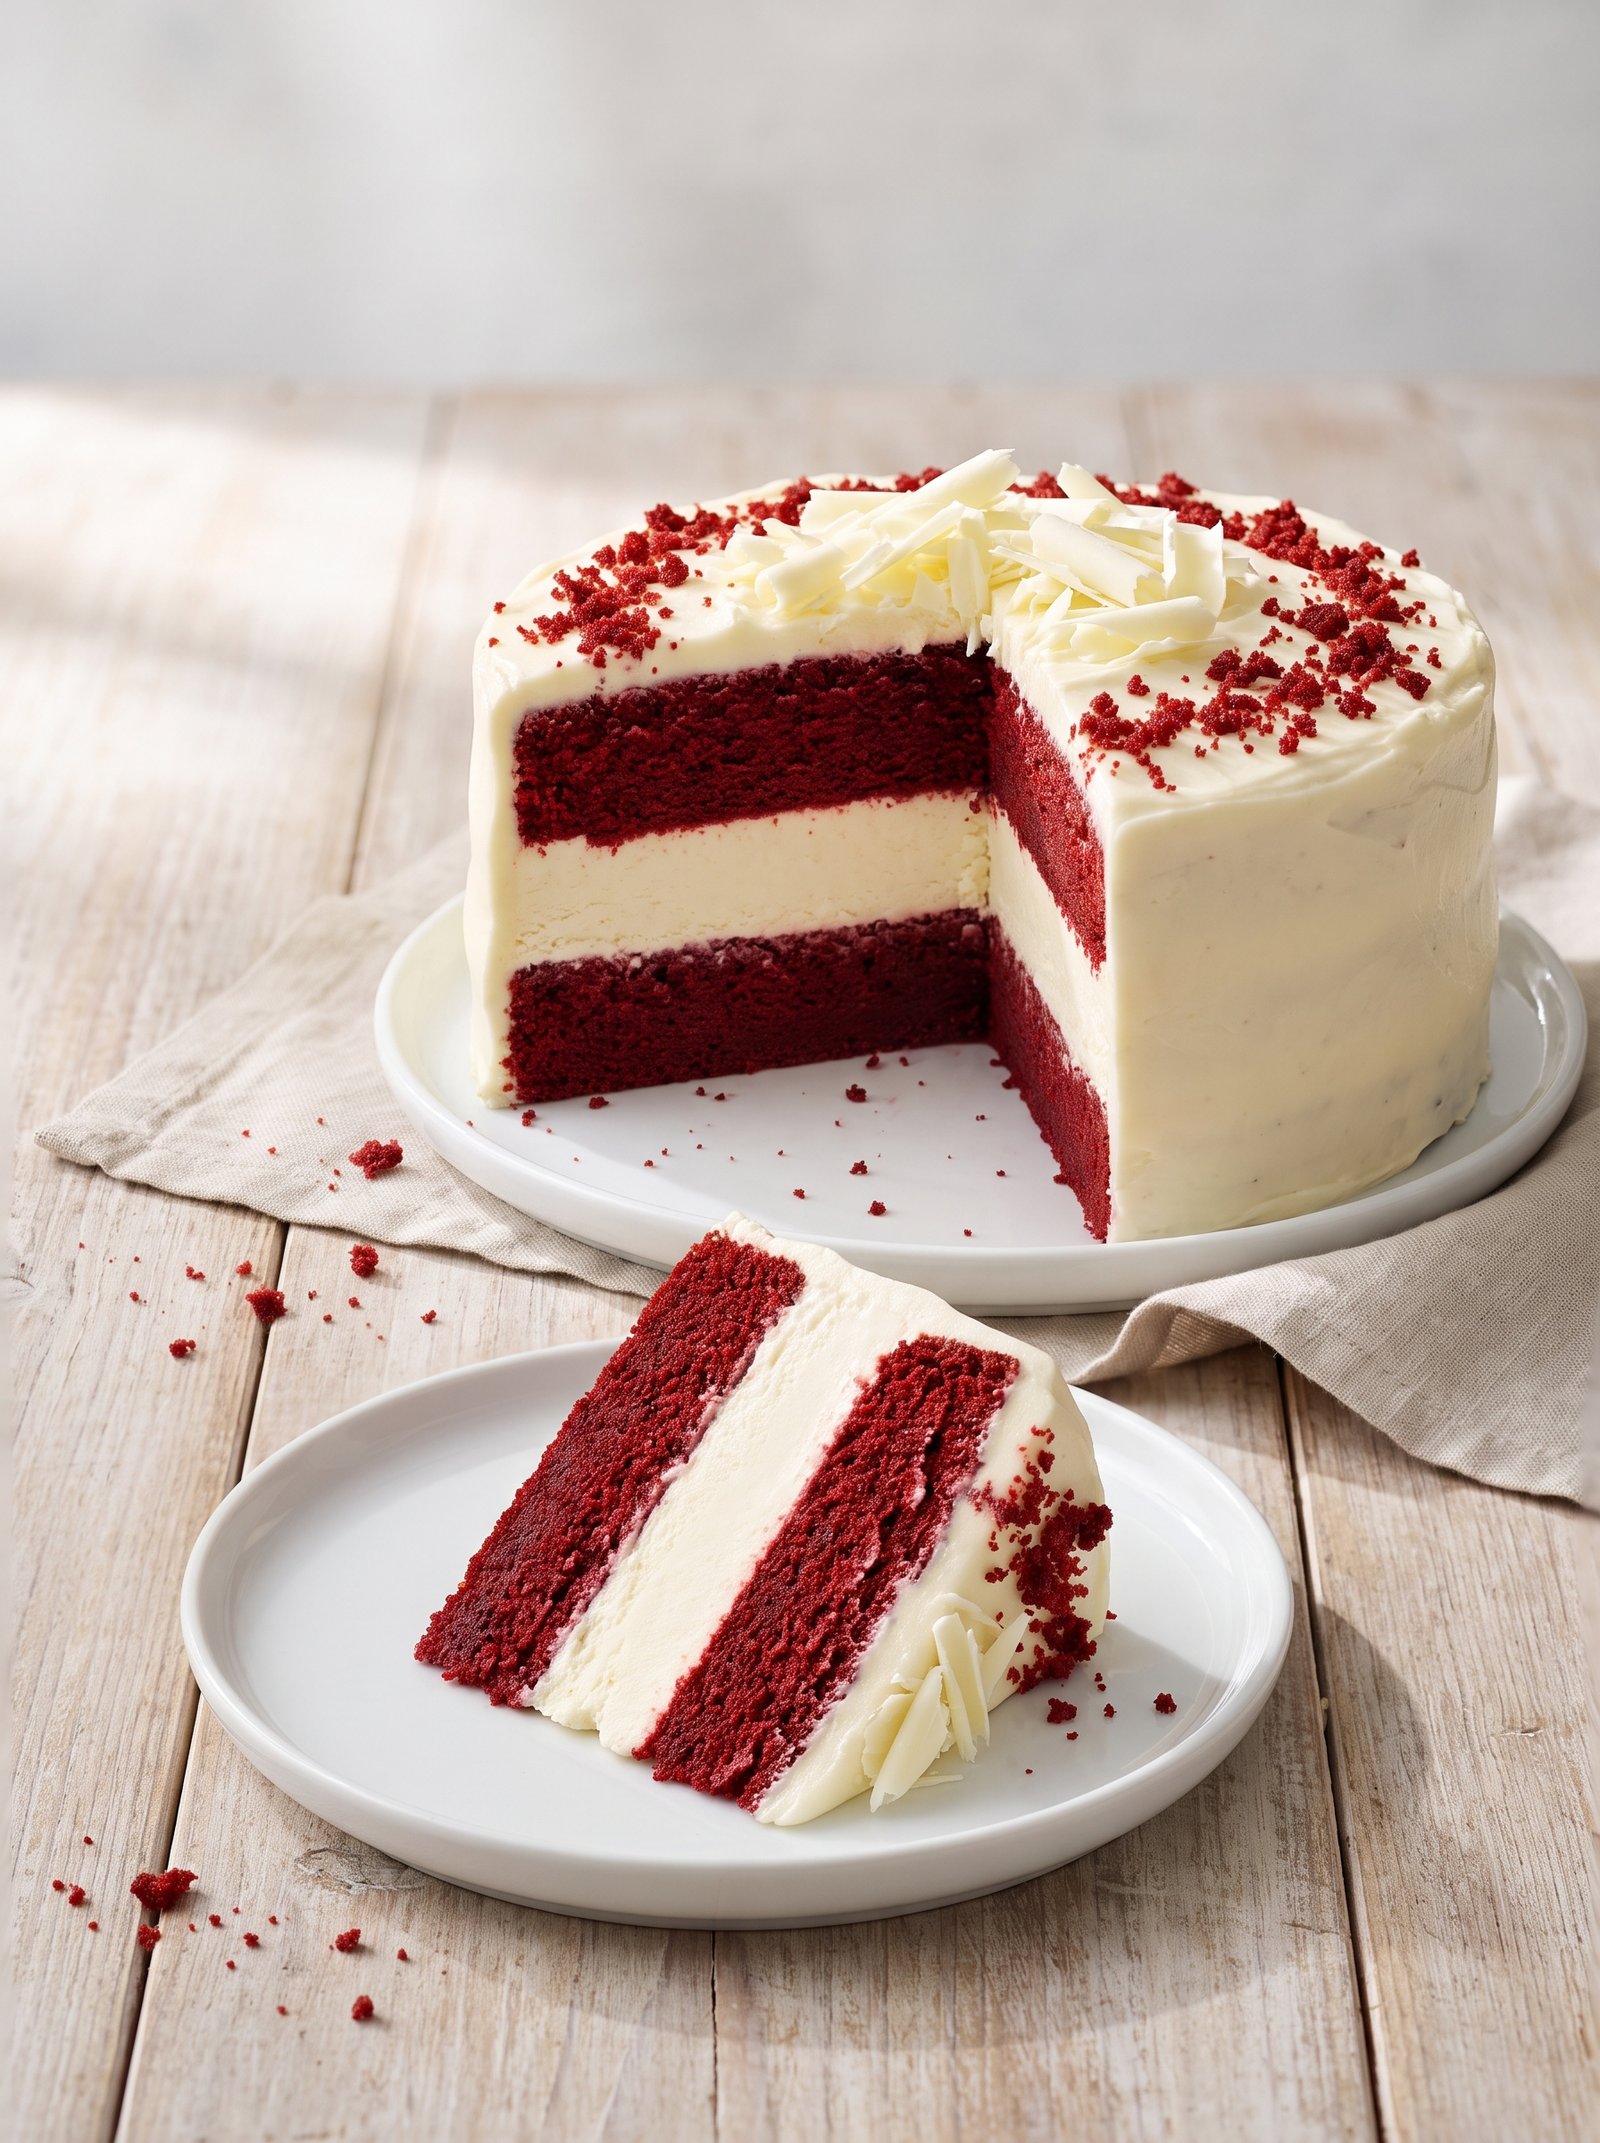
When I assemble a Red Velvet Cheesecake Cake, I use two red velvet cake layers with a cheesecake layer between them. I finish the outside with cream cheese frosting and often add red velvet crumbs or white chocolate shavings for decoration. The combination works particularly well because the slight cocoa flavor of red velvet complements the tanginess of cream cheese. I also like serving the cake chilled because the cheesecake becomes firm enough to slice neatly while the frosting remains creamy.
Why You Will Love This Red Velvet Cheesecake Cake
A show-stopping dessert
I consider this Red Velvet Cheesecake Cake a celebration dessert rather than an everyday cake. It immediately creates a dramatic presentation when I cut into it and reveal the pale cheesecake layer between the deep red cake layers. It is especially suitable for birthdays, holidays, Valentine’s Day, dinner parties, and other occasions when I want to serve something that looks homemade but has the appearance of a bakery creation.
Creamy, moist, and perfectly balanced
The red velvet layers provide a soft and lightly chocolatey foundation, while the cheesecake center adds a creamy and tangy contrast. Cream cheese frosting brings the entire dessert together. I find that chilling the completed cake makes the flavors feel more balanced because the frosting firms slightly and the cheesecake becomes easier to cut. The result is a dessert that feels rich without relying on complicated decoration.
Red Velvet Cheesecake Cake Ingredients
Ingredients for the cheesecake layer
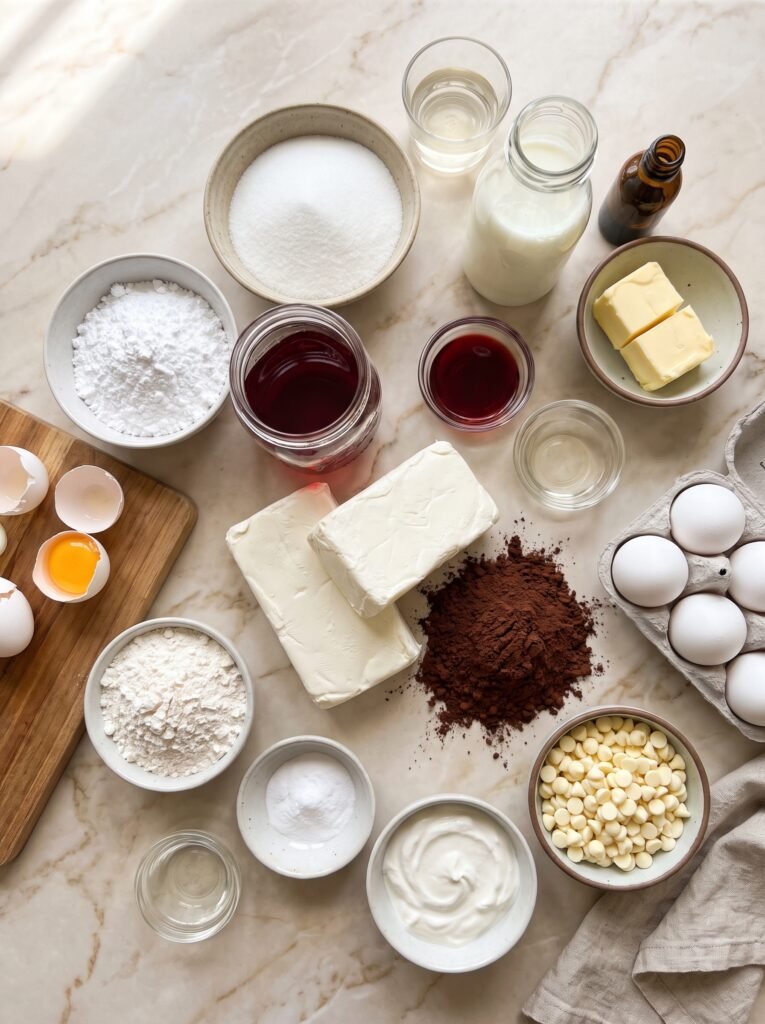
For the cheesecake center, I use:
- 680 g full-fat cream cheese
- 150 g granulated sugar
- 2 large eggs
- 120 g sour cream
- 1 teaspoon vanilla extract
- 2 tablespoons all-purpose flour
I always bring the cream cheese to room temperature before mixing. This makes it easier to create a smooth cheesecake filling without forcing the mixer to work excessively. I prefer full-fat cream cheese because it provides the rich texture I want in the center of the cake.
Ingredients for the red velvet layers
For the cake layers, I use:
- 300 g all-purpose flour
- 250 g granulated sugar
- 15 g unsweetened cocoa powder
- 2 large eggs
- 240 ml buttermilk
- 180 ml vegetable oil
- 1 teaspoon baking soda
- 1 teaspoon white vinegar
- 1 teaspoon vanilla extract
- 1 tablespoon red food coloring
- ½ teaspoon salt
Ingredients for cream cheese frosting
For the frosting, I use 450 g full-fat cream cheese, 115 g unsalted butter, 300 g powdered sugar, and 1 teaspoon vanilla extract. For decoration, I sometimes add white chocolate shavings and reserved red velvet cake crumbs.
How to Make Red Velvet Cheesecake Cake Step by Step
Step 1: Prepare the cheesecake layer
I begin by lining the bottom of a springform pan with parchment paper. I beat the softened cream cheese with sugar until smooth, then add the eggs one at a time. I mix in the sour cream, vanilla, and flour until everything is just combined. I avoid overmixing because I want the cheesecake to remain smooth rather than incorporate unnecessary air.
Step 2: Bake and cool the cheesecake
I pour the cheesecake mixture into the prepared pan and bake it until the center is set but still has a slight softness. I allow it to cool gradually before transferring it to the refrigerator. Once completely chilled, I prefer freezing the cheesecake layer briefly because the firmer texture makes the assembly much easier.
Step 3: Prepare the red velvet batter
While the cheesecake cools, I prepare the red velvet cake. I whisk the flour, cocoa powder, baking soda, and salt together in one bowl. In another bowl, I combine the sugar, eggs, oil, buttermilk, vanilla, vinegar, and red food coloring. I gradually combine the dry and wet ingredients until the batter becomes smooth. I do not overmix because excessive mixing can produce a tougher cake texture.
Step 4: Bake the cake layers
I divide the batter evenly between two prepared cake pans. I bake the layers until a toothpick inserted near the center comes out clean or with a few moist crumbs. I let the cakes cool in their pans briefly before transferring them to a cooling rack. Once completely cool, I level the tops if necessary so the finished Red Velvet Cheesecake Cake will sit evenly.
Step 5: Make the frosting
I beat the softened cream cheese and butter together until smooth. Then I gradually add powdered sugar and vanilla. I continue mixing only until the frosting becomes creamy and spreadable. If it becomes too soft, I refrigerate it briefly before assembling the cake.
Step 6: Assemble the cake
I place one red velvet layer on my cake stand and spread a thin layer of frosting across the top. I carefully position the chilled cheesecake layer over it, followed by the second red velvet layer. I then apply a thin crumb coat around the entire cake and refrigerate it until firm. After chilling, I add the final layer of frosting and smooth the surface with an offset spatula.
Step 7: Decorate and chill
For the finishing touch, I sprinkle red velvet crumbs around the top edge and add delicate white chocolate shavings. I refrigerate the completed cake before serving. This final chilling period allows the layers to settle and makes slicing significantly easier.
How to Make the Perfect Cheesecake Layer
Keep the filling smooth
I have learned that room-temperature cream cheese makes a major difference. Cold cream cheese can leave small lumps in the filling, forcing me to mix longer. I also avoid beating the cheesecake excessively because incorporating too much air can contribute to an uneven surface during baking.
Chill before assembly
A chilled or briefly frozen cheesecake layer is much easier for me to handle. It becomes firm enough to transfer without breaking and provides a stable center when I stack the cake. I also make sure the cheesecake layer is approximately the same diameter as the red velvet layers.
How to Make Moist Red Velvet Cake Layers
Understanding the classic ingredients
Red velvet cake has a distinctive combination of cocoa, buttermilk, and mild acidity. In my recipe, buttermilk contributes moisture and tanginess, while vinegar reacts with baking soda during baking. Cocoa powder gives the cake its subtle chocolate character without turning it into a traditional chocolate cake.
Avoiding dry cake
I watch the baking time carefully because overbaking is one of the easiest ways to lose moisture. I remove the layers as soon as they are properly baked and allow them to cool before frosting. Wrapping completely cooled layers and refrigerating them briefly can also make assembly easier.
Cream Cheese Frosting for Red Velvet Cheesecake Cake
Creating smooth frosting
For a smooth Red Velvet Cheesecake Cake, I always use softened cream cheese and butter. I beat them until completely smooth before adding powdered sugar gradually. This approach gives me better control over the consistency and prevents a cloud of powdered sugar from covering the kitchen.
Using a crumb coat
The crumb coat is particularly useful with red velvet cake because the red crumbs can easily become visible in white frosting. I apply a thin layer first, then refrigerate the cake. Once firm, I add the final frosting layer. This simple extra step creates a cleaner bakery-style appearance.
How to Assemble and Decorate Red Velvet Cheesecake Cake
Building even layers
I place the first cake layer on a completely flat cake stand. I check that it is level before adding the cheesecake. If the cheesecake layer extends slightly beyond the cake, I carefully trim it while chilled. I then add the second red velvet layer and gently press everything into alignment.
Decorating the finished cake
I prefer simple decoration because the dramatic layers already provide most of the visual appeal. Red velvet crumbs around the top edge create texture, while white chocolate shavings add contrast. I sometimes pipe small cream cheese frosting swirls around the border when I want a more formal presentation.
Red Velvet Cheesecake Cake
Ingredients
Method
Notes
- Keep the finished cake refrigerated.
- Chill the cheesecake layer until firm before assembling.
- Use softened cream cheese for a smooth frosting.For clean layers, chill the assembled cake before slicing with a sharp knife.
Tips for the Best Red Velvet Cheesecake Cake
My most important baking tips
When making a Red Velvet Cheesecake Cake, I focus on preparation and temperature rather than complicated techniques. I make sure every component has cooled completely before assembly and avoid rushing the chilling stages.
My essential checklist is:
- Use room-temperature cream cheese.
- Do not overmix the cheesecake batter.
- Avoid overbaking the red velvet layers.
- Chill the cheesecake before assembly.
- Level the cake layers carefully.
- Apply a thin crumb coat first.
- Refrigerate the completed cake before slicing.
- Use a warm, clean knife for neat slices.
Red Velvet Cheesecake Cake Variations
Different ways to customize it
I can easily change the appearance and flavor of a Red Velvet Cheesecake Cake without changing its basic structure. White chocolate shavings create an elegant finish, while chocolate cream cheese frosting makes the dessert more intense. For smaller celebrations, I can prepare individual mini versions or transform the concept into cupcakes.
Other variations include:
- White chocolate red velvet cheesecake
- Chocolate cream cheese frosting
- Red velvet cheesecake cupcakes
- Mini red velvet cheesecake cakes
- Red velvet cheesecake with chocolate ganache
- Holiday-themed decorations
- Smaller cakes for intimate celebrations
How to Store and Freeze Red Velvet Cheesecake Cake
Refrigerating the finished cake
Because this cake contains cheesecake and cream cheese frosting, I keep it refrigerated. I store the finished cake covered in the refrigerator and allow it to sit briefly before serving so the frosting is not excessively firm.
Freezing the cake
I can also freeze the cheesecake layer separately or freeze the completed cake when properly wrapped. I prefer freezing the components separately when possible because it gives me more control during assembly. When thawing, I move the cake into the refrigerator and allow it to thaw gradually rather than leaving it at room temperature for an extended period.
F&Q
What is Red Velvet Cheesecake Cake made of?
A traditional Red Velvet Cheesecake Cake consists of red velvet cake layers, a creamy baked cheesecake center, and cream cheese frosting. Some versions also include white chocolate decorations, red velvet crumbs, or chocolate toppings.
Does Red Velvet Cheesecake Cake need to be refrigerated?
Yes. I keep it refrigerated because both the cheesecake and cream cheese frosting are perishable components. Keeping the cake chilled also helps maintain its structure and makes it easier to slice cleanly.
Can I make Red Velvet Cheesecake Cake ahead of time?
Yes. I actually prefer making the components ahead because the cheesecake and cake layers need time to cool completely. I can prepare the cheesecake and cake layers in advance, refrigerate them, and assemble the dessert closer to serving time.
Why does my cheesecake layer crack?
Cracks can result from overmixing, excessive baking, sudden temperature changes, or other preparation factors. I reduce the risk by mixing gently, avoiding unnecessary air, and allowing the cheesecake to cool gradually.
Food and Health Disclaimer
This article is provided for general informational and educational purposes only. It is not intended to provide medical, nutritional, or dietary advice and does not replace advice from a qualified physician, registered dietitian, or other healthcare professional. Food-safety practices should be followed carefully when preparing and storing cheesecake, eggs, dairy products, and other perishable ingredients.